안녕하세요 씨앤텍시스템즈입니다.
오늘은 SVG를 이용한 Animation을 생성하는 방법에 대해서 정리하겠습니다.
이 글은
https://youtu.be/UTHgr6NLeEw?si=L0r4UHGpoLLN96Ld 자료를 참고하여 작성하였습니다.
이 글의 각 파트별 마지막에는 아래의 두 가지 animation을 완성할 수 있습니다.


목표 1 : animation1
먼저, animation1을 만드는 과정을 살펴보겠습니다.

사용할 색상을 정해줍니다.
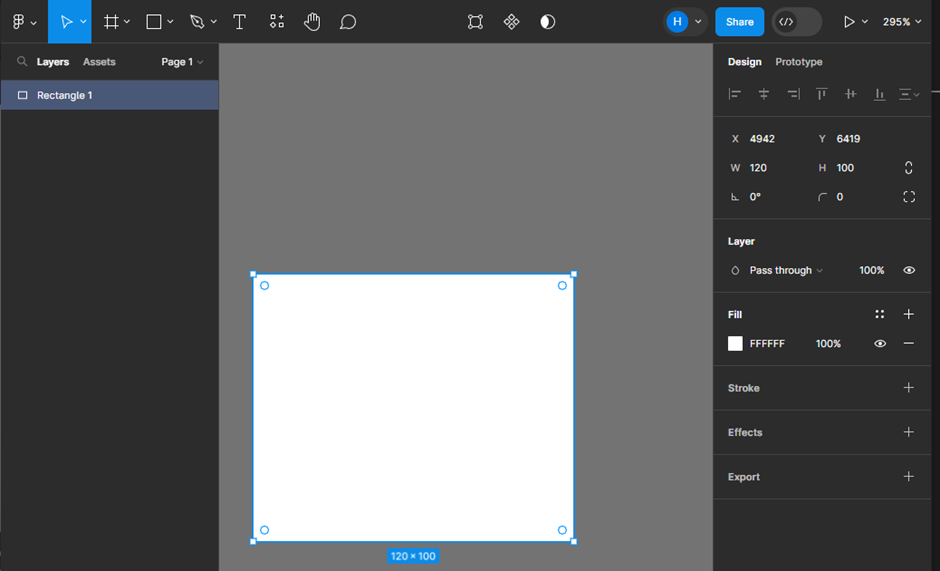
그리고 나면, Figma(선택)를 통해 animation을 적용할 도형을 만들어 줍니다.

그래픽의 픽셀이 깨지지 않게 하기 위해서 frame은 최대한 작은 사이즈로 만들어 줍니다.

코드로 뽑을 때 파악하기 쉽도록 layer 별로 이름을 지정해줍니다.

추출할 도형의 포지션을 지정해 줍니다.
Dark1과 light1을 차례로 일부가 겹치도록 배치하고, dark2를 light1위에 완전히 겹치도록 배치합니다.
추출은 위와 같은 포지션으로 하지만 Dark2는 css로 frame 밖에서 들어가도록 할 겁니다.

이제 triangles frame을 추출하는데, 더보기를 눌러 include ‘id’ attribute를 체크해서 추출합니다.
> svg에 해당하는 object 별로 id를 생성하여, css 를 작성하는 데 큰 도움이 됩니다.
<body>

    <svg

      width="120"

      height="100"

      viewBox="0 0 120 100"

      fill="none"

      xmlns="http://www.w3.org/2000/svg"

    >

      <g id="triangles">

        <rect width="120" height="100" />

        <g id="lightGroup">

          <path

            id="light1"

            d="M41 48.268C42.3333 49.0378 42.3333 50.9623 41 51.7321L20 63.8564C18.6667 64.6262 17 63.664 17 62.1244L17 37.8756C17 36.336 18.6667 35.3738 20 36.1436L41 48.268Z"

          />

        </g>

        <g id="darkGroup">

          <path

            id="dark1"

            d="M49 48.268C50.3333 49.0378 50.3333 50.9623 49 51.7321L28 63.8564C26.6667 64.6262 25 63.664 25 62.1244L25 37.8756C25 36.336 26.6667 35.3738 28 36.1436L49 48.268Z"

          />

          <path

            id="dark2"

            d="M41 48.268C42.3333 49.0378 42.3333 50.9623 41 51.7321L20 63.8564C18.6667 64.6262 17 63.664 17 62.1244L17 37.8756C17 36.336 18.6667 35.3738 20 36.1436L41 48.268Z"

          />

        </g>

      </g>

    </svg>
Html 파일을 만들어, Figma를 통해 추출했던 svg를 불러옵니다.
이때, inline으로 object의 색상과 투명도가 기입되어 있는 “fill” 속성 및 “fill-opacity” 속성은 삭제하여 style에서 css를 지정하는데 지장이 없도록 초기화해줍니다.
  :root {

        --dark-color: #ea906c;

        --light-color: #eee2de;

      }

      svg {

        cursor: pointer;

      }


      #darkGroup {

        fill: var(--dark-color);

      }

      #lightGroup {

        fill: var(--light-color);

      }

      #dark1,

      #dark2,

      #light1 {

        opacity: 0.8;

      }
기본(정적) 스타일은 위와 같이 작성해 주고,
   #dark1,

      #light1,

      #dark2 {

        transition: all 1s ease;

      }

      #dark2 {

        transform: translateX(-100%);

      }

      svg:hover #light1 {

        transform: translateX(20%);

      }

      svg:hover #dark1 {

        transform: translateX(40%);

        opacity: 0;

      }

      svg:hover #dark2 {

        transform: translateX(0%);

      }
애니메이션(동적) 스타일은 위와 같이 작성해 줍니다.
그러면 도형이 부드럽게 동작하는 모습을 확인 할 수 있습니다.
추가로, svg 도형을 클릭할 때 color palette 색상에 따라서 도형의 색상을 변화시키려면,
아래와 같이 script를 작성합니다.
   <script>

      const svg = document.getElementById("triangles");


      svg.addEventListener("click", onClick);


      function onClick(event) {

        const colors = ["#2B2A4C", "#B31312", "#ea906c", "#eee2de"];

        const rando = () => colors[Math.floor(Math.random() * colors.length)];

        document.documentElement.style.cssText = `

            --dark-color: ${rando()};

            --light-color: ${rando()};

            `;

      }

    </script>
위와 같이 작성하면 첫 번째 목표를 마무리할 수 있습니다.

목표2 : animation2
Figma 생성 작업은 생략합니다.
https://github.com/fireship-io/animated-svg-demo/blob/main/phone.html
(위의 깃헙 사이트에서 svg파일을 준비할 수 있습니다.)

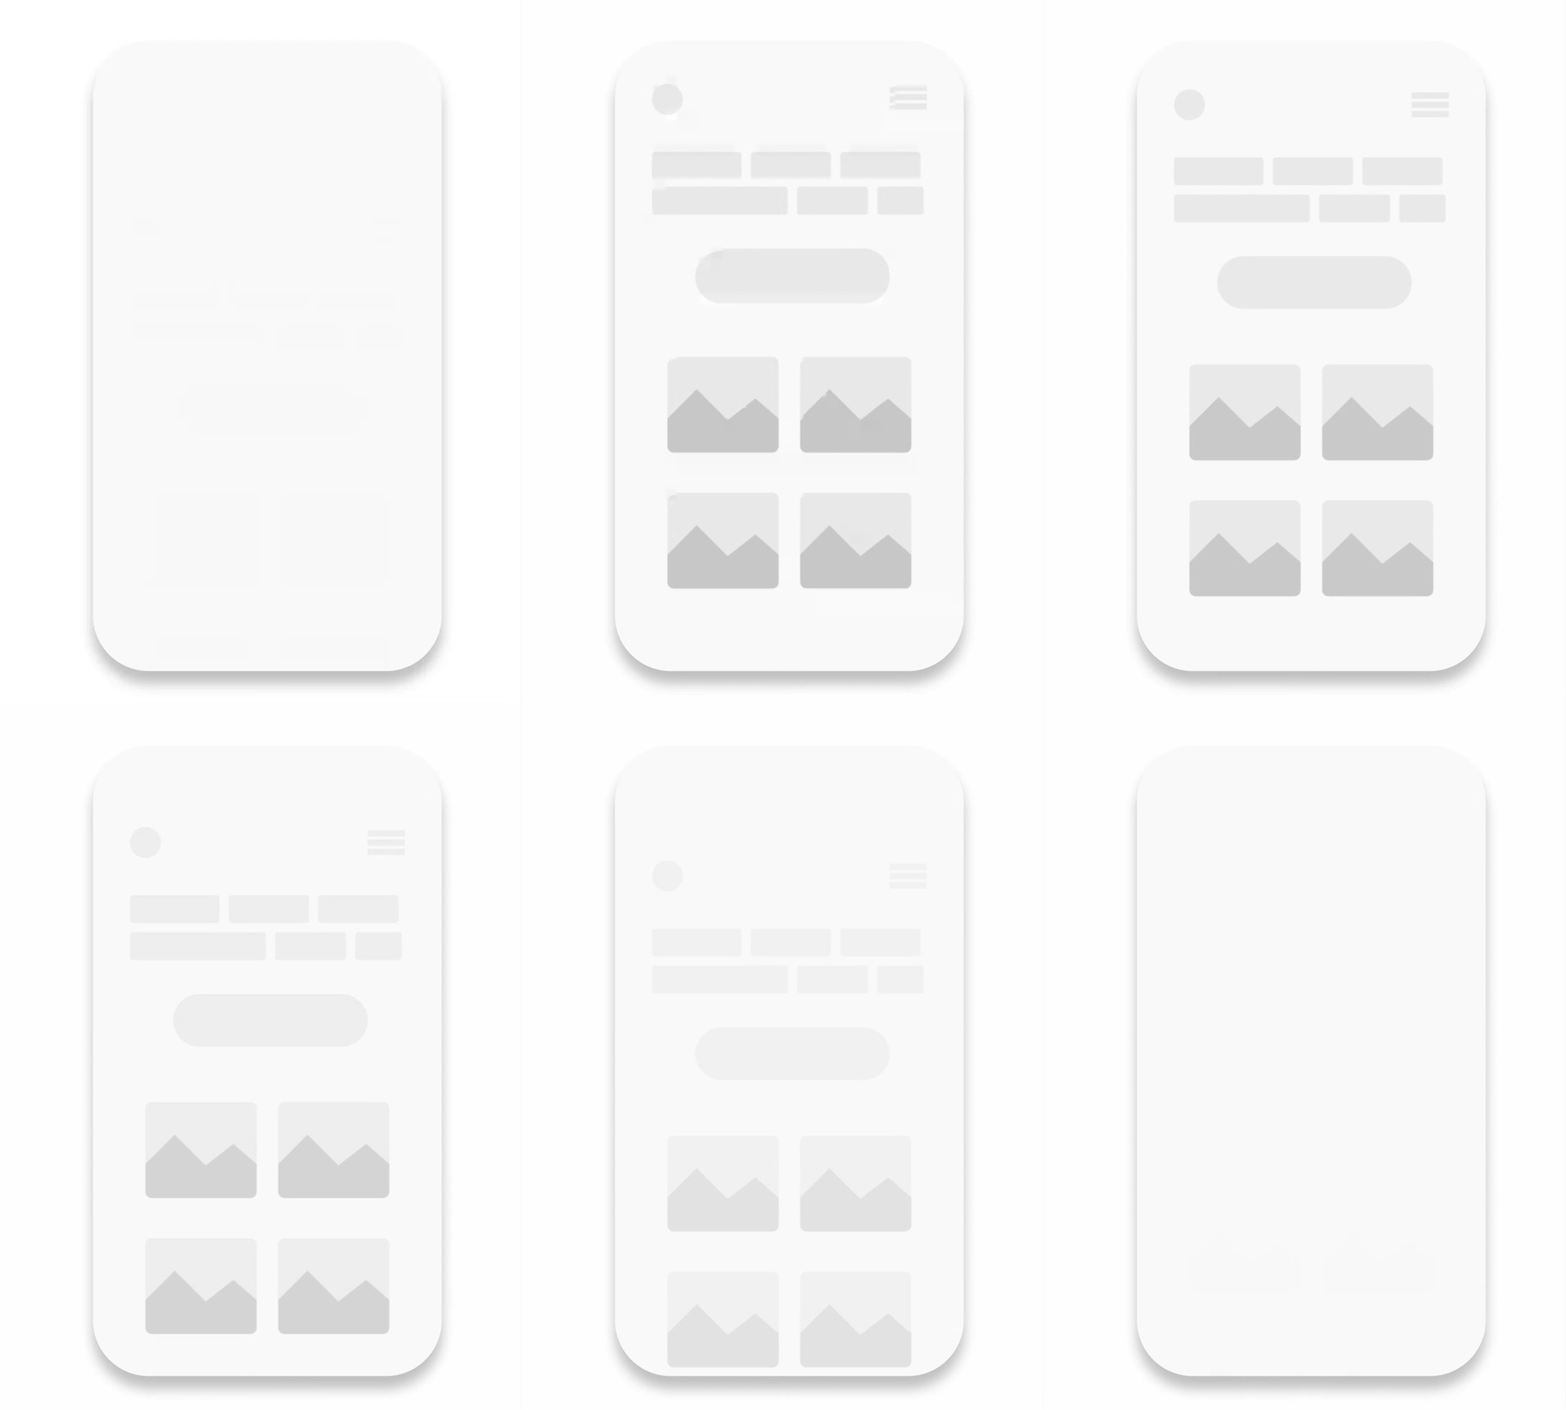
먼저 위와 같이 #skeleton에 해당하는 object를 먼저 준비합니다.
#skeleton이 아래에서 위로 올라오는 애니메이션을 다음과 같이 넣어 줍니다.
 <style>

        #skeleton {

            animation: fadeInUp 1s;

            animation-iteration-count: infinite;

        }


        @keyframes fadeInUp {

            from {

                /* start of the animation */

                opacity: 0;

                transform: translateY(20%);

            } to {

                /* end of the animation */

                opacity: 1;

                transform: translateY(0);

            }

        }

    </style>

#skeletion에 해당하는 animation이 완성되면 위와 같이 동작합니다.
이제 #skeleton에 해당하는 animation의 반복성을 없애줍니다.
#bolt g {

            opacity: 0;

            animation: dropIn 8s ease forwards infinite;

            /* 이때 forwards 속성은 animation의 마지막 상태를 유지한다는 말입니다. */

            /* infinite 속성은 animation을 반복한다는 뜻입니다. */

        }


        @keyframes dropIn {

            20% {

                opacity: 0;

                transform: translateY(-20%);

            }

            30%, 100% {

                opacity: 1;

                transform: translateY(0);

            }

        }
위와 같이 animation을 생성하여 #bolt g( 이하 #bolt)에 해당하는 object가 위에서 아래로 내려오도록 만들어 줍니다.

여기까지 작성하면 각각의 #bolt가 차례로 내려오도록 delay를 걸어주는 작업을 합니다.
#bolt에 해당하는 svg 코드를 보면,
 <g id="bolt4" style="--order: 4">

--- 생략 ---
위와 같이 각각의 #bolt에 해당하는 style이 기입되어 있습니다. 이 속성을 이용하여
  #bolt g {

            opacity: 0;

            animation: dropIn 8s ease forwards;

            animation-delay: calc(var(--order) * 200ms)

        }
각각의 #bolt가 0.2 초의 차이를 가지고 animation 동작되도록 만들어 줍니다.
각각의 #bolt가 내려온 상태가 유지되도록 animation-fill-mode 속성을 forwards로 기입함으로써 두 번째 목표를 마무리 합니다. (녹화용으로는 animation-literation-count 속성에 infinite를 걸어두었습니다.)

이상으로 SVG를 이용하여 Animation 만들기를 마치겠습니다.
다음 글에서는 svg 속성을 살펴보는 시간을 갖도록 하겠습니다.
감사합니다.
'Web Programming > Design' 카테고리의 다른 글
| SVG를 이용하여 Animation 만들기_후속 (0) | 2023.12.28 |
|---|---|
| UI Component (0) | 2022.01.14 |
| UI/UX & HCI 디자인이란 (0) | 2021.01.12 |
| Adobe illustrator 활용하기-그래픽 아이콘 (0) | 2021.01.08 |
| 웹 퍼블리싱과 프런트엔드 개발의 환경구축 (1) | 2020.10.29 |